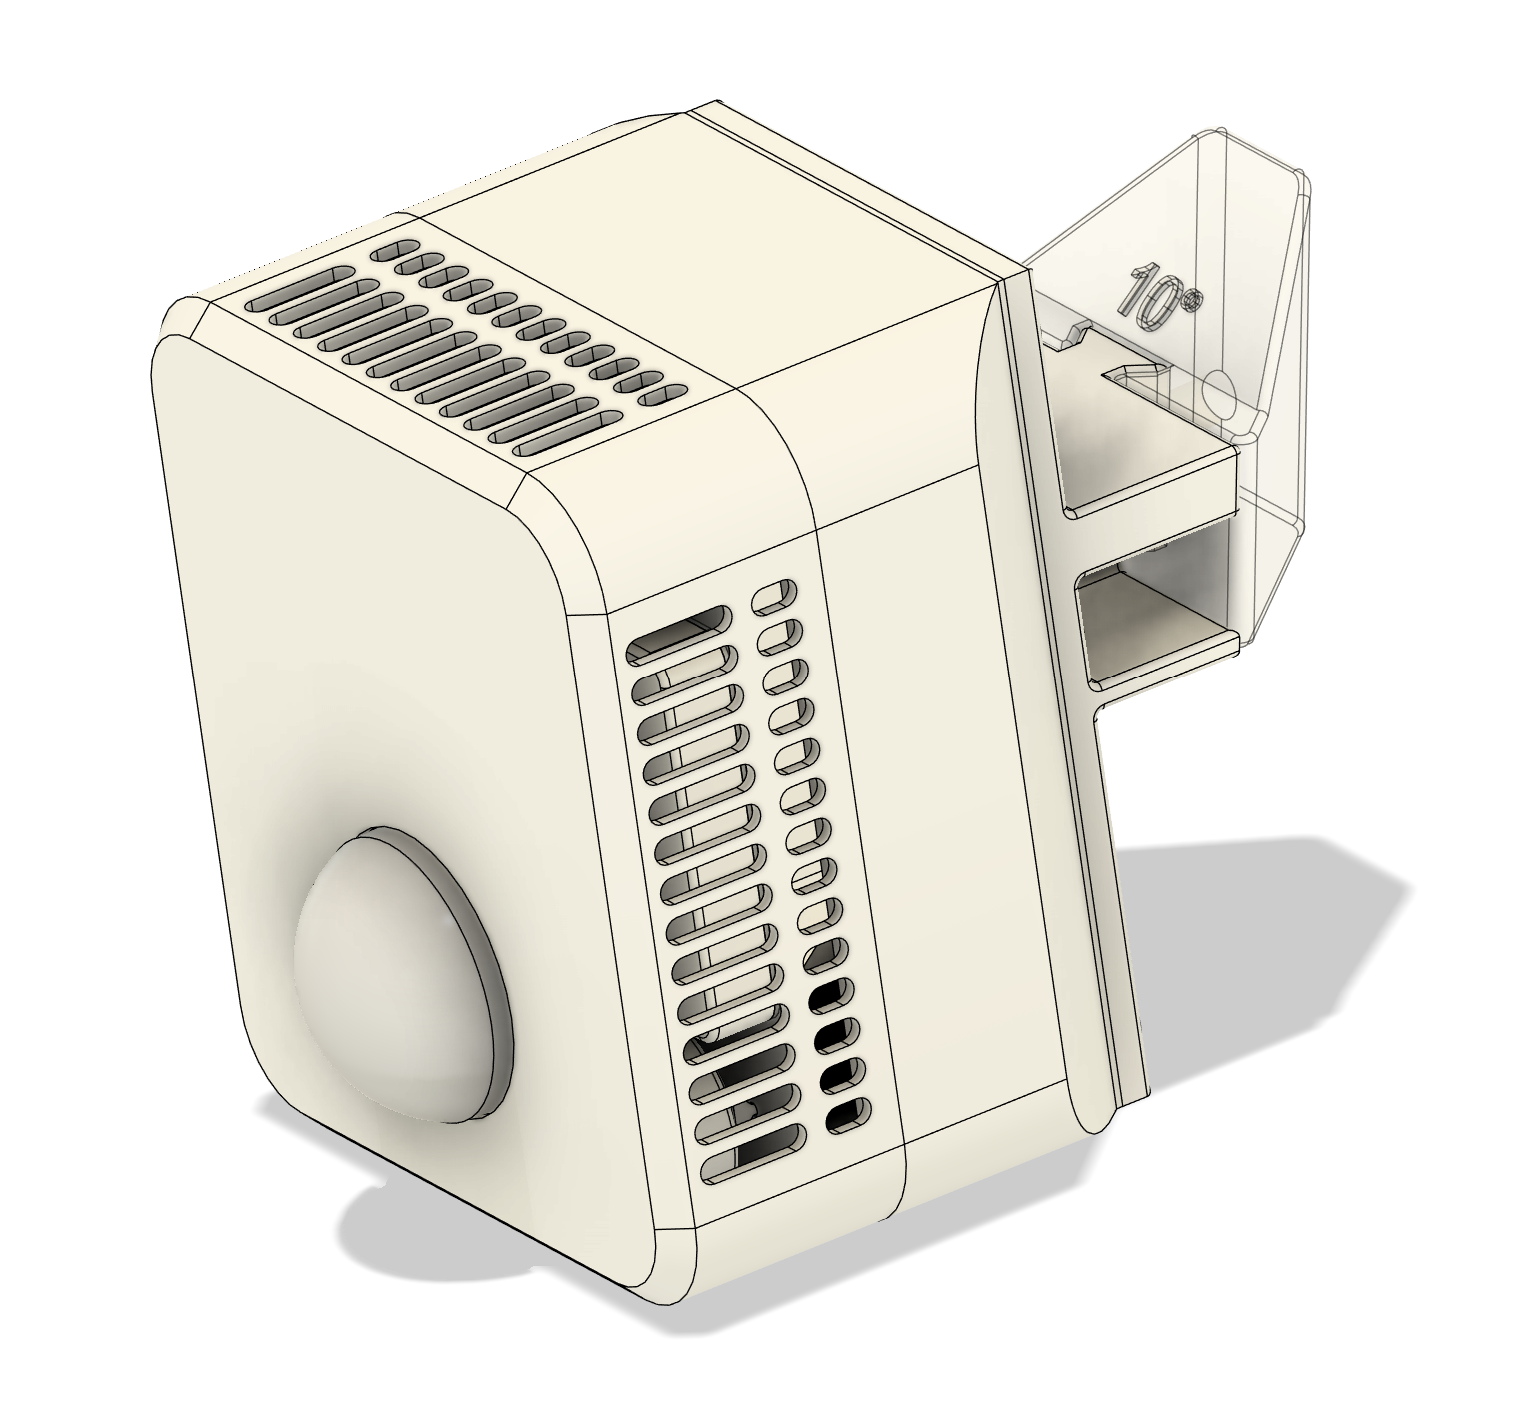
Initial Programming
You need to make two choices before programming the ESPHome Indoor Multi-Sensor.
First is the Sensor package. You can either choose Package A, the Sensirion SEN6X sensor package which is an all-in-one sensor package. Or you can choose Package B which is a lower cost discrete sensor set that is missing particulate matter sensors.
Next up is what type of radar sensor you plan on including. There are 4 options here, Hi Link LD2410 (My favorite), DFRobot C4001 (SEN0609 and SEN0610) Hi-Link LD2450, Hi-Link LD2410S and Hi-Link LD2420.
Each of these these builds include all supported sensors: pressure, light, sound level, power/energy monitor and speaker. If there are sensors you wish to not include, take control of the sensor and start configuring.
If you are really new to ESPHome I would recommend searching on Youtube for getting started videos.
WARNING! The Hi-Link LD2410S and Hi-Link LD2420 only work on Rev-B boards.
PCB Rev B Web Installation
Use the buttons below to install pre-built firmware directly to your Rev-B hardware via USB.
This will install version unknown.
| Sensor Pkg | No Radar | Radar LD2410 | Radar C4001 | Radar LD2450 | Radar LD2410S | Radar LD2420 |
|---|---|---|---|---|---|---|
| Pkg A | Coming Soon | |||||
| Pkg B | Coming Soon |
Calibration
Package A
The SEN66 sensor has a defined calibration procedure as described in the SEN6x – Temperature Acceleration and Compensation Instructions from Sensirion. There is also a youtube video which is easier to follow.
I have perfomed this calibration procedure on each of the radar configurations since each radar has a different power dissipation. My setup includes the following item purchased off Amazon:
-
Seedling tray with cover. These are fairly common but usually only available in packs of 5 or more. They are not insulated if you wrap a blanket around it the temperature will stabalize even in an air conditioned room. Another option is a styrafoam cooler.
-
Seedling Heat Mat is intended to be used with the seedling tray. The low wattage works well for this application but be wary of the included controller. It does not regulate the temperature very well. As in more than +/- 2°F which is not that back but but is oscillates between the min and max and is clearly not a PID controller. In the end I used a separate PID controller as indicated below.
-
PID Temperature Controller is a significant improvement of the on/off controller above with hysteresis. It has Auto-Tuning which works quite well. Letting temperature stabilize in my blanket wrapped Seedling Tray with this controller resulted in very little oscillation.
-
SEK SensorBridge is used to capture temperature data from separate SHT45 sensor and the internal SEN66 sensor embedded in Multi-Sensor platform.
Following the Sensirion procedure the computed values for each radar configuration are stored in the SEN66 Temperature Compensation Slot 0. Temperature Cal Offset is stored in Slot 1 and it used to further calibrate the temperature and humidity additional heating or cooling sources outside the the sensor module.
Here is a picture of the inside calibration setup. I printed a small platform to hold the sensor behind a corner wall. The corner wall purpose is two fold, first is provide a convenient mounting surface and it block drafts from the small circulation fan attached to the underside of the printed platform. Also under the platform is the SEK Sensorbridge.

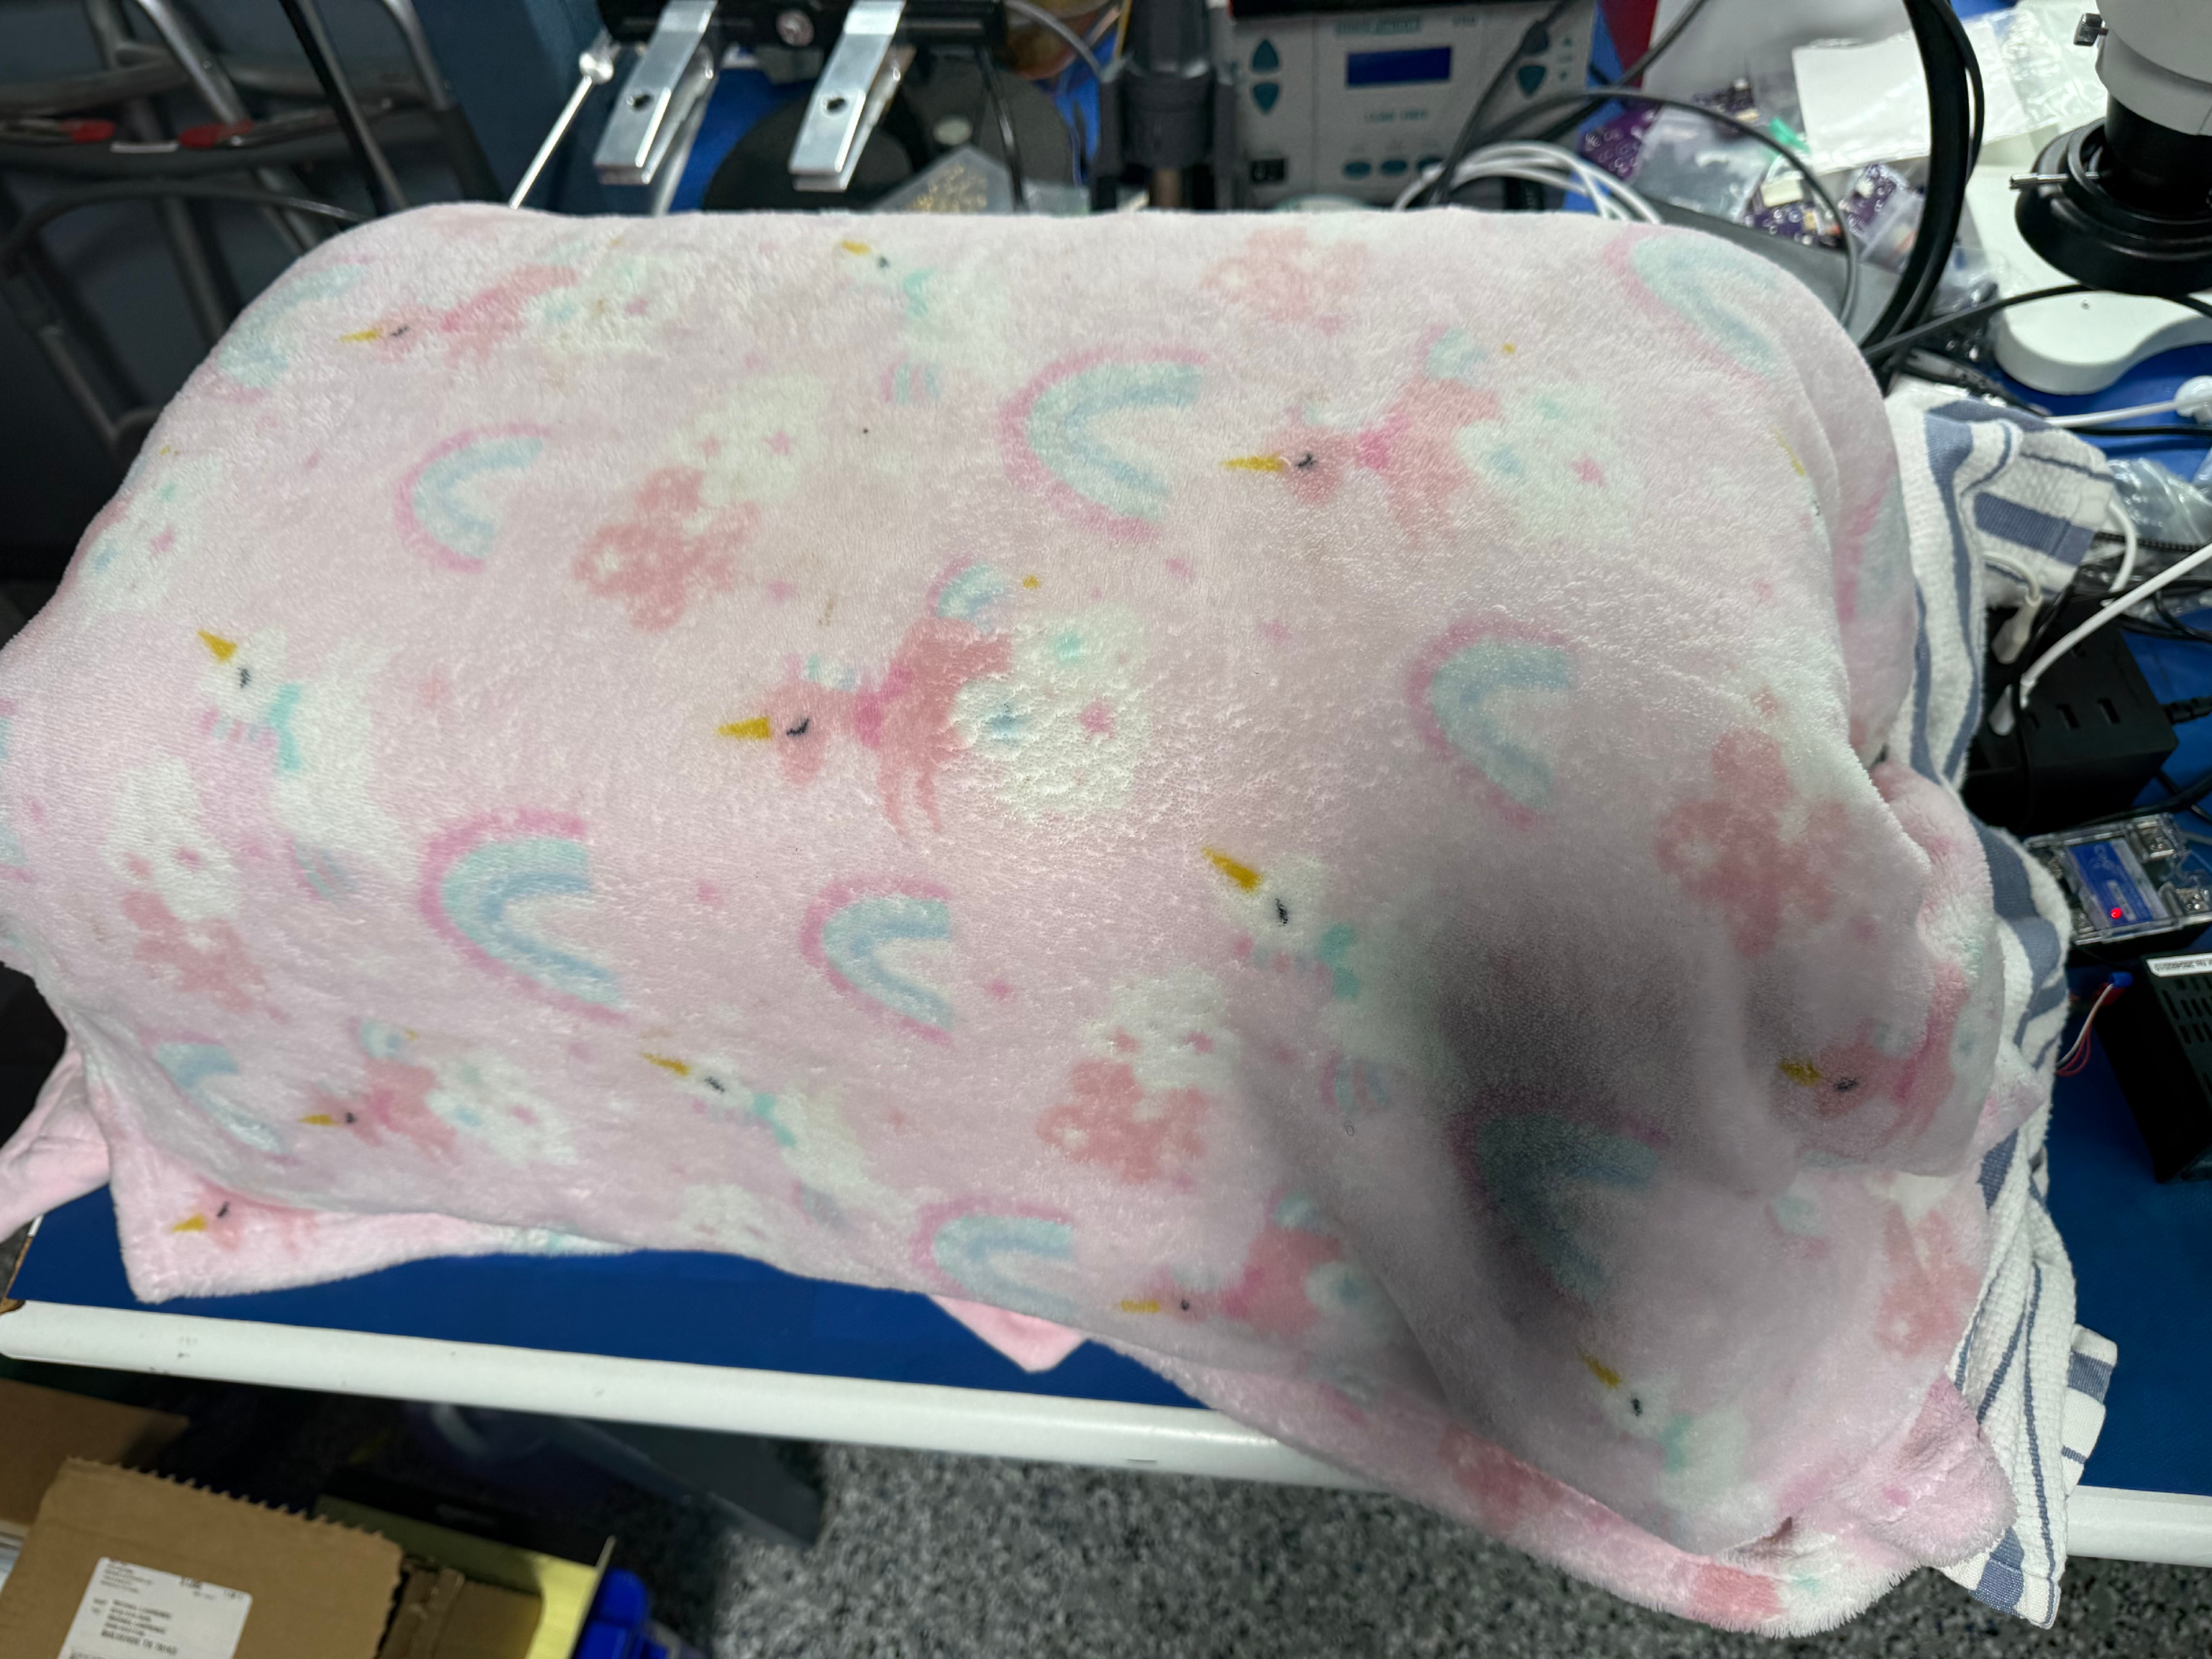
This is the whole assembly wrapped up all nice an cozy ia couple of balnkets.
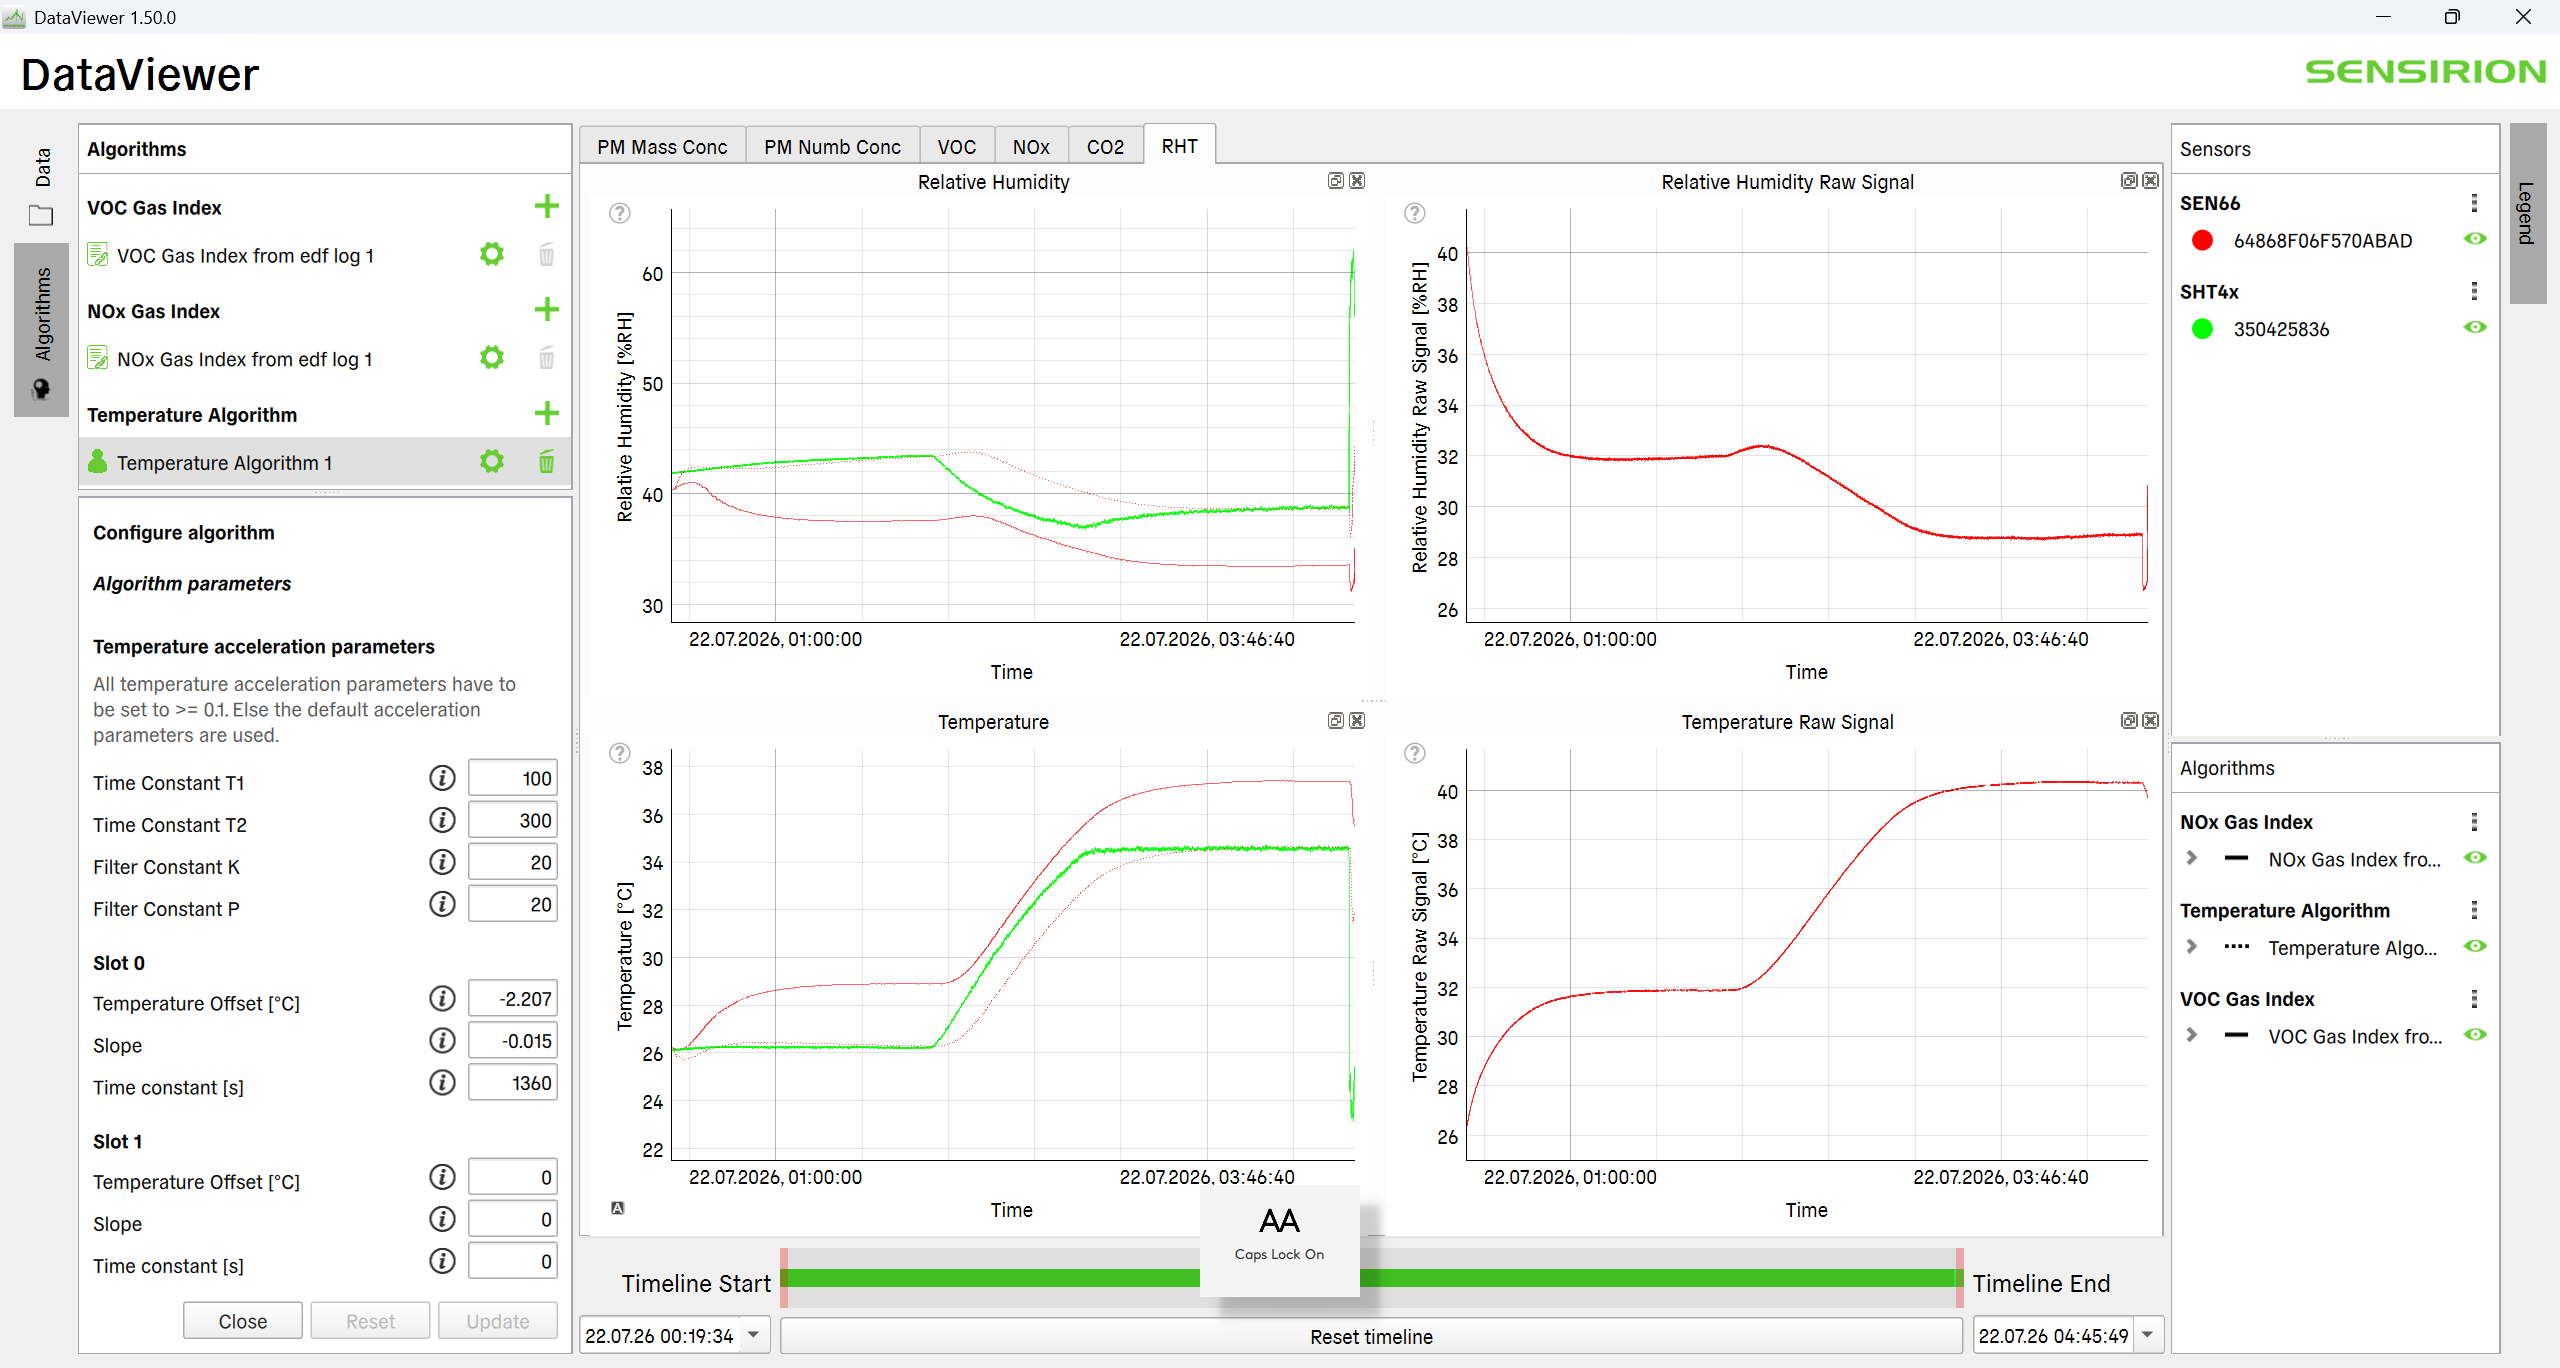
Here is a screen capture of the Sensirion Dataviewer with the data from the LD2410 test. It shows the computed compensation values effect on the the temperature and humidity data.
Package B
The SHT45 sensor does not have built in temperature and humidity compensation. However, the temperature can still be adjusted with the Temperature Cal Offset number in Home Assistant. The humidity is also temperature compensated by the Temperature Cal Offset with the Magnus formula.
Additional Calibration Steps
The calibration settings determined by the testing above are automatically applied by the configuration. This makes the sensor more accurate but there are other influences that will cause you to need additional calibration. To that end there are two numbers Temperature Cal Offset and Humidity Cal Offset that added with an offset filter for final calibration. Remember that Humidity is affected temperature so it is always best to get temperature calibrated before attempting Humidity calibration.
Next Steps
Right now Home Assistant is the only destination for this sensor. Click Home Assistant configuration page to learn what’s available in Home Assistant.
So you have taken control what’s next? Go to the ESPHome configuration page to learn just how much trouble you can get into with this sensor!
There also some handy dashboards to make it easy to configure the radar sensor.